Showing posts with label Montana Hikes. Show all posts

Sunday, September 2, 2018

Lewis and Clark National Forest: Memorial Falls (Blog Hike #711)

Trail: Memorial Falls Trail
Hike Location: Lewis and Clark National Forest
Geographic Location: north of White Sulphur Springs, MT (46.91306, -110.69789)
Length: 0.9 miles
Difficulty: 3/10 (Easy/Moderate)
Date Hiked: August 2018
Overview: A short but rocky and occasionally steep out-and-back to two small waterfalls.
Hike Route Map: https://www.mappedometer.com/?maproute=944014
Photo Highlight:

Directions to the trailhead: The signed parking area for Memorial Falls is located on the east side of US 89 2 miles south of the town of Neihart.

The hike: Straddling the north-south continental divide in northern Montana, Lewis and Clark National Forest protects more than 1.8 million acres mostly of forested mountains.  The national forest is named for the famous Lewis and Clark Expedition, which explored this area between 1804 and 1806 as part of their exploration of the land acquired with the Louisiana Purchase.  The national forest was established in 1897, only one year after the United States signed the Treaty of 1896 with the Blackfeet Nation, which established the adjacent Blackfeet Reservation.
            The national forest has lands in eight different mountain ranges, one of which is the Little Belt Mountains.  Located southeast of Great Falls, the Little Belt Mountains consist of gently sloped peaks covered by pine forest.  One of the area’s most scenic and popular frontcountry sites is Memorial Falls, the destination of the hike described here.  Although this hike is short and not that difficult, the elevation is high and the terrain rocky, so it is not as easy as the distance alone might suggest.
Memorial Falls Trailhead
            An information sign and vault toilet sit at the rear of the parking lot, where this hike begins.  Immediately the asphalt trail crosses Belt Creek on a sturdy bridge with iron railings, after which the trail surface turns to dirt and rock.  For the rest of the hike the trail stays near the bank of Memorial Creek, which is a small tributary of Belt Creek.  Memorial Creek’s ravine is very rocky: talus-covered slopes rise to vertical rock cliffs on either side.
            Sheets of black plastic buried under the trail stabilize the trail surface as you climb up the ravine.  Ponderosa pines and Douglas firs dominate the forest, and the understory is very open.  Just past 0.3 miles, you reach the base of the main waterfall.  The main waterfall is a ledge-type waterfall that drops about 25 feet.  The small creek does not provide a lot of water to fall, but the rocky area makes for a very rugged setting.
Main waterfall
            Some people turn around here, but another waterfall lies a few hundred feet upstream.  To get there, keep following the main trail as it curves left to cross Memorial Creek and begins climbing a trio of switchbacks.  The switchbacks are the rockiest part of this trail, but careful stepping will get you up to the ravine’s rim.
Rocky switchback

View from ravine rim

Upper Falls
            The trail continues upstream along the ravine’s rim to reach a view of Upper Falls at 0.45 miles.  Upper Falls is more of a cascade-type waterfall than its lower cousin, but it is still an interesting site.  The official trail ends at the Upper Falls viewpoint.  Although an unofficial trail crosses the creek above Upper Falls and goes back down to the main waterfall along the creek’s other (east) bank, I do not recommend going that way: that trail is too steep and exposed for good safety.  Thus, I chose to retrace my steps down the switchbacks and past the main waterfall to return to the parking lot and complete the hike.

Saturday, September 1, 2018

Glacier National Park: Avalanche Lake (Blog Hike #710)

Trails: Trail of Cedars and Avalanche Lake Trail
Hike Location: Glacier National Park
Geographic Location: east of West Glacier, MT (48.68095, -113.81865)
Length: 4.8 miles
Difficulty: 6/10 (Moderate)
Date Hiked: August 2018
Overview: A creekside hike to scenic Avalanche Lake.
Hike Route Map: https://www.mappedometer.com/?maproute=735094
Photo Highlight:

Directions to the trailhead: This hike starts at Glacier National Park’s Avalanche Creek Trailhead, which is located on the park’s Going-to-the-Sun Road 15.7 miles east of the park’s west entrance.  Ideally you can park at the trailhead’s roadside parking area, but because the lot fills quickly during the peak season you may need to park at the Apgar Visitor Center and ride the free park shuttle up to Avalanche Creek.

The hike: For my general comments on Glacier National Park, see the previous hike.  This hike, my final hike in Glacier National Park, takes you to popular and scenic Avalanche Lake, a medium-sized lake surrounded by towering bare-rock mountains.  This hike is popular with families because it is long and hard enough to give you a sense of accomplishment but not so hard that it becomes overly taxing.  I did this hike in the cool of the morning before the large crowds arrive, and I had a fantastic hike.
Start of Trail of Cedars
            Your journey to Avalanche Lake starts on the Trail of Cedars, which begins on the south shoulder of the Going-to-the-Sun Road as an unsigned boardwalk.  A 0.7 mile nearly flat loop, the Trail of Cedars is somewhat popular because it is the easiest trail in Glacier National Park.  As its name suggests, the Trail of Cedars passes through a dense creekside pine forest dominated by western red cedars, black cottonwood, and western hemlock. 
Where the boardwalk splits, stay left to remain on the northeast bank of Avalanche Creek.  The mountainside comes closer on the left as the trail stays in a narrow band of flat area between the mountain and the creek.  At 0.3 miles, the trail curves right to cross Avalanche Creek on a nice footbridge.  Looking to the left allows you to peer directly upstream through a tight sheer-walled rock gorge.  Avalanche Creek creates some powerful waterfalls in this gorge.
Small but rocky gorge on Avalanche Creek
Shortly after crossing the creek, you reach the signed Avalanche Lake Trailhead at an information board.  Turn left here and climb slightly to quickly reach the official Avalanche Lake Trail.  Turning right would take you downhill to the Avalanche Campground, so you want to turn left to head for Avalanche Lake.
The Avalanche Lake Trail starts as a rocky, rooty path that treads the rim of the sheer-walled gorge you peered into only moments ago.  Soon the creek mellows out, as does the trail.  For the rest of the journey to Avalanche Lake the grade is moderate and the footing good.  Some gentle well-engineered switchbacks help on both the steepness and footing fronts.
Hiking the Avalanche Lake Trail
At 1.3 miles, you reach a brief descent where a large number of trees have been knocked down.  The name “avalanche” seems to be on everything in this ravine, and for good reason: many avalanches thunder their way down this ravine.  These knocked down trees testify to the force tumbling snow exerts.  On the bright side, the gap in the trees gives a nice view up the side ravine that leads east to Hidden Lake, the destination of the previous hike.  No trails head up to Hidden Lake from this area, however.
Looking up side ravine toward Hidden Lake
The grade intensifies slightly past this side ravine.  Overall, this hike climbs about 600 vertical feet before reaching its highest point at 2 miles into the hike.  A slight descent then brings you to the shore of Avalanche Lake near its outlet.  As you would expect in Montana, the lake’s water is clear and shiny.  The lake is surrounded by dense pine forest, but the pines give way to bare rock higher up the surrounding mountains.  Small packs of snow remained on the higher elevations when I hiked here on the second day of August, and tall cascading waterfalls delivered water from the snowpacks to the lake.  Take some time to enjoy this classic Rocky Mountain scene.
Avalanche Lake

Avalanche Lake
The trail heading around the west side of Avalanche Lake provides access to some primitive campsites.  The only way to Avalanche Lake is the way you got here, so eventually you will need to turn around and head back down beside Avalanche Creek.  If you do this hike early in the morning like I did, the sun will be blocked by mountains while you are hiking up but high enough to illuminate the water in Avalanche Creek while you are hiking down.  When you get back to the Trail of Cedars, turn left to continue the Trail of Cedars.
The Trail of Cedars’ asphalt southwest arm stays very close to the Avalanche Lake Campground.  Picnic areas, parking lots, and restroom buildings can be seen to the left.  Just before the asphalt trail reaches the main campground parking area, turn right to return to the boardwalk just before it crosses Avalanche Creek.  This creek’s clear water and rocky bottom amazed me one last time here.  Quickly you close the Trail of Cedars’ loop, where a left turn returns you to the roadside parking area to complete the hike.

Friday, August 31, 2018

Glacier National Park: Hidden Lake Trail to Overlook (Blog Hike #709)

Trail: Hidden Lake Trail
Hike Location: Glacier National Park
Geographic Location: west of St. Mary, MT (48.69539, -113.71836)
Length: 2.8 miles
Difficulty: 6/10 (Moderate)
Date Hiked: August 2018
Overview: A high-elevation out-and-back to an overlook of scenic Hidden Lake.
Hike Route Map: http://www.mappedometer.com/?maproute=706689
Photo Highlight:

Directions to the trailhead: This hike starts at Glacier National Park’s Logan Pass Visitor Center, which is located at the highest point on the park’s Going-to-the-Sun Road 17.6 miles west of the park’s east entrance at St. Mary.  Ideally you can park in the Visitor Center’s parking lot, but because the lot fills quickly during the peak season you may need to park at either the Apgar Visitor Center or the St. Mary Visitor Center and ride the free park shuttle up to Logan Pass.

The hike: Located flush against the Canada border, Glacier National Park protects over 1 million acres of some of Montana’s highest land.  The park is named for the numerous small glaciers that populate its mountainsides.  While much press has been given to the fact that the glaciers are shrinking, the icefields still exist for now, and one of them (Jackson Glacier) can still be seen from a shuttle stop a few miles east of this trailhead on the famous Going-to-the-Sun Road.
Jackson Glacier
The park largely owes its existence to George Grinnell, the co-founder of the Audubon Society who in 1908 gave this place the nickname “Crown of the Continent.”  This nickname is fitting for at least two reasons.  First, two of North America’s major watershed divides run through the park.  The well-known north-south continental divide separating the Atlantic and Pacific Ocean basins runs through the park, but the lesser-known Laurentian Divide, which separates the Atlantic Ocean and Hudson Bay basins, also starts here before heading east to northern Minnesota and then northeast through Quebec’s Laurentian Mountains.  The two divides meet at Triple Divide Peak in the southern part of the park, so water landing on Triple Divide Peak could drain to any one of three places: east into the Missouri River and the Atlantic Ocean, west into the Columbia River and the Pacific Ocean, or northeast into the Saskatchewan River and the Hudson Bay.
Second, the area’s geography makes the park a convergence zone for North America’s ecosystems.  North and South Rocky Mountain species migrate into the park from their respective directions, prairie species come in from the east, and maritime species come in from the west.  To see this biological diversity up close, you will have to hike one of the park’s many trails.  Fortunately, hiking is the main attraction at Glacier National Park, as nearly every natural feature of interest requires at least a short hike to reach.
The hike described here starts at Logan Pass, the highest point on the park’s famous and scenic Going-to-the-Sun Road, and roughly follows the north-south continental divide to an overlook of Hidden Lake.  Thus, while this hike may not go to the tip of the continent’s crown, it does take you along the rim of it.  Because the hike stays between 6600 and 7200 feet of elevation for most of its distance, the trail usually does not become snow-free until July, and you will get winded faster than usual.  Therefore, do not underestimate the difficulty of this hike.
Hidden Lake Trailhead
A small maze of asphalt trails exists behind the Logan Pass Visitor Center, but you want to take the one marked by the brown “Hidden Lake Trailhead” sign.  The bare rock of Clements Mountain looms straight ahead, and Mount Oberlin towers off to the right.  The trail surface starts as asphalt, but soon it starts alternating between boardwalk and dirt.
Unlike wetland areas where the boardwalk keeps your feet dry, the boardwalk up here protects the fragile alpine environment from getting damaged by human feet.  Tree line on the park’s eastern slopes is about 6000 feet above sea level, so although you see some pine trees near the trailhead you quickly enter the barren alpine tundra.  Brown carsonite posts warn you to stay on the well-defined trail.
Dirt portion of Hidden Lake Trail
Looking down Reynolds Creek ravine
The trail climbs on a moderate grade, gaining 350 vertical feet over its first 0.6 miles.  Clements Mountain gets closer as you climb, and nice views open up to the east down the Reynolds Creek ravine.  The north-south continental divide follows the ridge to your right.  When I hiked here on the first day of August, I encountered the first field of melting snow near 0.7 miles.  The snow did not block the trail, and its runoff created attractive streams and waterfalls for my viewing and hearing pleasure.
Melting snowpack
At 0.8 miles, the grade intensifies again as you head up a finger ridge projecting from the south side of Clements Mountain.  Wildlife frequent this area.  In addition to small animals such as squirrels and marmots, I saw several mountain goats only a few feet from the trail.  Also, I spotted a grizzly bear on the slopes of Reynolds Mountain above me and to my left.
1.1 miles into the hike, you top the last steep section as you reach Hidden Lake Pass.  A short descent and gradual climb bring you to the continental divide and the wooden platform that is Hidden Lake Overlook.  The lake sits roughly 780 feet below the overlook, and the entire lake is in view.  The water is the usual brilliant blue that you would expect in Montana.  Tree line on the western slopes is about 6900 feet above sea level, so you will see some pine trees not far below you.  Rocky and pyramid-shaped Bearhat Mountain rises abruptly from the lake’s far shore.  Take some time to enjoy this impressive viewpoint.
Lower end of Hidden Lake

Hidden Lake and Bearhat Mountain
The trail continues past the overlook and descends all the way to Hidden Lake’s shore.  While the hike to the shore can easily be done as a dayhike, choosing that option adds 2.4 miles to the hike’s round-trip distance, and you will have to clamber back up to this overlook to get back to the trailhead.  Feeling the ill effects of a stomach bug, I turned around at the overlook.  After you top Hidden Lake Pass on the return trip, you can see the trail ahead of you, probably with an almost continuous line of people, all the way down to the Logan Pass Visitor Center.  The short asphalt interpretive trail behind the Visitor Center tells you a lot about the alpine tundra you just walked through and makes a nice way to end your visit to the rim of the continent’s crown.

Wednesday, August 29, 2018

Glacier National Park: Baring, St. Mary, and Virginia Falls (Blog Hike #708)

Trails: Sun Point Nature and St. Mary Falls Trails
Hike Location: Glacier National Park
Geographic Location: west of St. Mary, MT (48.67654, -113.57957)
Length: 6.7 miles
Difficulty: 7/10 (Moderate/Difficult)
Date Hiked: July 2018
Overview: A somewhat long out-and-back passing three major waterfalls.
Hike Route Map: https://www.mappedometer.com/?maproute=735093
Photo Highlight:

Directions to the trailhead: This hike starts at Glacier National Park’s Sun Point, which is located on the park’s Going-to-the-Sun Road 9.4 miles west of the park’s east entrance at St. Mary.  Ideally you can park in the Sun Point parking lot, but because the lot fills quickly during the peak season you may need to park at the St. Mary Visitor Center and ride the free park shuttle up to Sun Point.

The hike: For my general comments on Glacier National Park, see my forthcoming hike that starts at Logan Pass.  The hike described here is the most popular hike in Glacier National Park’s very popular St. Mary section.  This hike passes three major waterfalls without pegging the difficulty meter, and its relatively low elevation makes the trail snow-free for more of the year than the park’s higher elevation trails.  Also, while I have listed this hike as a 6.7 mile out-and-back, in peak season you can shorten the hike to only about 5 miles by using the free park shuttle, an option I will describe at the end of the hike.
Sun Point Trailhead
            Start at the signed Sun Point Trailhead, which is located at the southeast corner of the Sun Point parking lot.  The gravel trail immediately enters the pine forest and heads gradually downhill.  Ignore a short-cut trail that exits right and quickly arrive at the sunny rock outcrop known as Sun Point.  Sun Point juts well out into St. Mary Lake, so it offers fantastic lake views in three directions.
St. Mary Lake near Sun Point
            The trail surface turns to dirt as it curves right at Sun Point to begin heading west-northwest with the lake downhill to your left.  The park’s official name for this trail is the Sun Point Nature Trail, but very little on the ground indicates such.  Most of this hike passes through an area that burned in a wildfire a few years ago, so it is exposed to the sun these days.  Drink plenty of water and wear a hat and/or sunscreen.
Baring Falls
            After descending only 100 vertical feet over the first 0.9 miles, you reach the base of Baring Falls.  Water falls about 20 feet over a rocky ledge, and the surrounding sheer rock cliffs make for a stark setting.  Just past the waterfall, you pass the park’s boat dock at the lowest elevation on this hike.  For a fee you can ride a concession boat from Rising Sun to this point, and this boat gives another option to reduce this hike’s length if so desired.
            The trail continues its westward course as a gradual climb ensues.  The added elevation gives more nice views across St. Mary Lake to the finger ridges that lead up to Mount Logan from its south shore.  At 1.6 miles, the spur trail to the St. Mary Falls Parking Lot on the Going-to-the-Sun Road exits right.  Do not confuse this parking lot with the St. Mary Falls Shuttle Stop; the trail to the shuttle stop exits to the right at 2 miles into the hike.
Hiking toward St. Mary Falls
            Now officially on the St. Mary Falls Trail, the meandering trail descends moderately through more area that burned a few years ago.  At 2.2 miles, the backpacking trail to Gunsight Pass and Piegan Pass exits right, and the Continental Divide Trail (CDT) enters from the right here.  Now heading southbound on the CDT, continue descending and soon reach the bank of the St. Mary River, where the trail curves right to begin heading upstream.
            2.5 miles into the hike, you reach St. Mary Falls.  This waterfall impresses with power rather than delicacy: the river provides lots of water to fall, and the sheer grey rock cliffs make for another stark setting.  Because this waterfall lies less than 1 mile from the Going-to-the-Sun Road, it is a very popular destination, and there were at least 50 people here enjoying the aquatic setting when I passed through here.
St. Mary Falls
            To bag your third waterfall of this hike, cross the footbridge over the river just below the falls and briefly walk downstream along the south bank of the St. Mary River.  Soon the trail curves right to begin heading up Virginia Creek.  At this point you leave the burned area and reenter the dense greenery that will accompany you the rest of the way to Virginia Falls.  I spotted a moose deep in the greenery here, the first moose I have seen while on a hike.
Lowest waterfall in Virginia Creek
            Virginia Creek contains several small waterfalls that give preludes of what is to come.  The grade remains moderate, as this trail gains about 300 vertical feet in the last 0.7 miles to the falls.  At 3.3 miles, you reach the highest elevation of this hike at the base of 50-foot Virginia Falls.  Though it has far less water than St. Mary Falls, Virginia Falls is a taller more elegant ledge-type waterfall with some surrounding greenery.  Also, while Virginia Falls still attracts quite a few visitors, its more secluded location means it does not see the crowds that St. Mary Falls does.  Take some time to enjoy this attractive spot.
Virginia Falls
            The CDT continues by following the St. Mary Lake Trail as it heads east away from Virginia Falls, but there are no more nearby points of interest.  Thus, most day hikers turn around at Virginia Falls.  To reduce the retracing of steps and shorten the hike, you could take the spur trail to the St. Mary Falls Shuttle Stop (NOT the one to St. Mary Falls Parking Lot) and ride the free shuttle back to Sun Point.  The spur trail is 0.3 miles long, and it climbs moderately through a slightly rocky area to reach the shuttle stop on the Going-to-the-Sun Road.  Ride the shuttle east to Sun Point to complete your three-waterfall tour.

Monday, August 27, 2018

Glacier National Park: Swiftcurrent Nature Trail (Blog Hike #707)

Trail: Swiftcurrent Nature Trail
Hike Location: Glacier National Park
Geographic Location: west of Babb, MT (48.79725, -113.66832)
Length: 2.6 miles
Difficulty: 2/10 (Easy)
Date Hiked: July 2018
Overview: A fairly flat circumnavigation of Swiftcurrent Lake.
Hike Route Map: https://www.mappedometer.com/?maproute=735091
Photo Highlight:

Directions to the trailhead: This hike is located in Glacier National Park’s Many Glacier section.  From US 89 in Babb, drive Many Glacier Road west for 13.5 miles to reach the Grinnell Glacier Trailhead, where this hike begins.  The parking at this trailhead can fill quickly during peak season, so you may need to park anywhere you can find a space in the park’s Many Glacier section and walk to the trailhead.

The hike: For my general comments on Glacier National Park, see my forthcoming hike that starts at Logan Pass.  Most people enter Glacier National Park on the park’s famous Going-to-the-Sun Road, which may be the most scenic drive in the United States.  My visit started with the park’s more remote Many Glacier section mainly due its location in the northern part of the park; I came to Glacier after visiting Canada’s Waterton Lakes National Park to the north.
            Some people think the Many Glacier valley is Glacier National Park’s most scenic area.  While it is hard to pick one valley as the park’s most scenic, Many Glacier’s tight dimensions and multi-colored rocks make for an impressive sight.  Many hikes start at Many Glacier, but the short hike around Swiftcurrent Lake described here allows you to see much of the valley’s scenery without taking on much difficulty.
Grinnell Glacier Trailhead
            There are several places where you could start the Swiftcurrent Nature Trail, but this trail description starts at the Grinnell Glacier Trailhead.  Named for George Grinnell, the cofounder of the Audubon Society who was instrumental in establishing Glacier National Park, the 5.3 mile one-way hike to Grinnell Glacier that begins here is one of Many Glacier’s most popular hikes.  The glacier viewpoint is worth the trip if you have the time and energy to make the journey.
            The combined Grinnell Glacier and Swiftcurrent Nature Trails head south from the trailhead on a packed gravel treadway.  Small black interpretive signs identify common plants along the trail.  Dense pine and birch forest line either side of the trail, and Many Glacier provides prime habitat for moose and bear.  I did not see any moose on this hike, but I did see a black bear just a few feet off of the trail further around the loop.
View up Swiftcurrent Creek
            At 0.3 miles, you cross Swiftcurrent Creek on a nice wooden footbridge.  The water in Montana’s streams is extremely clear and reflective, and a nice view of Mount Wilbur opens up to the right as you look upstream from the bridge.  The trail surface now turns to dirt, and soon you reach the shore of Swiftcurrent Lake.  The pine tree-lined shore and the foothills of Mount Allen across the lake can be seen from here, and a family of ducks was enjoying its day on the lake.
            0.7 miles into the hike, you reach the park shuttle boat dock at the south end of Swiftcurrent Lake.  For a fee you can start at Many Glacier Hotel, ride one boat to here, get off and walk a short distance to nearby Lake Josephine, and then ride another concession boat across Lake Josephine to reduce the hiking distance required to reach Grinnell Glacier.  Immediately after passing the boat dock, the Grinnell Glacier and Swiftcurrent Nature Trails part ways at a signed trail intersection.  Turn left to continue the Swiftcurrent Nature Trail.
Altyn Peak
            As you round the south end of Swiftcurrent Lake, fantastic northward views open up across the lake.  Many Glacier Hotel gets dwarfed by colorful Altyn Peak behind it.  Just shy of 0.9 miles, you cross the creek that feeds water from Lake Josephine into Swiftcurrent Lake.  Like the creek you crossed earlier, this creek is a beautiful, pine tree-lined, clear-flowing waterway.
Grinnell Point

Grinnell Point and continental divide
            Now heading northeast, the trail stays close to the east shore of Swiftcurrent Lake.  Fantastic views emerge across the lake of stark, rocky Grinnell Point and the continental divide beyond.  The trail surface turns to asphalt just before you reach Many Glacier Hotel at 1.7 miles.  Stay between the building and the lake and walk through a gravel employee parking lot.  A snack shop and gift shop in the hotel’s lower lobby invite you to stop and have a snack while admiring the hotel’s scenic location.
Many Glacier Hotel
            Past the hotel, use the park road bridge to cross Swiftcurrent Lake’s outflow, and note that a rocky waterfall called Swiftcurrent Falls sits to the right here.  After crossing the bridge, angle left to begin the final trail segment.  The Continental Divide Trail also uses this segment of trail.  Now heading west along the lake’s north shore, more nice views of Many Glacier Hotel emerge and a kayak launch ramp is passed before you return to the Grinnell Glacier Trailhead to complete the hike.

Monday, August 20, 2018

Makoshika State Park: Switchback, McCarty, and Ponderosa Trails (Blog Hike #704)

Trails: Switchback, McCarty, and Ponderosa Trails
Hike Location: Makoshika State Park
Geographic Location: south of Glendive, MT (47.06400, -104.68079)
Length: 3.4 miles
Difficulty: 6/10 (Moderate)
Date Hiked: July 2018
Overview: A hike through badlands topography, mostly easy/moderate but with one steep section.
Hike Route Map: http://www.mappedometer.com/?maproute=704787
Photo Highlight:

Directions to the trailhead: In eastern Montana, take I-94 to Glendive’s Merrill Avenue (exit 215).  Exit and go south on Merrill Ave.  Drive Merrill Ave. 1.9 miles to Douglas Street and turn left on Douglas St.  After passing under the railroad tracks, turn left on Barry Street.  Drive Barry St. 0.3 miles to Taylor Avenue and turn right on Taylor Ave.  Drive Taylor Ave. 0.4 miles to Snyder Street and turn left on Snyder St.  Snyder St. becomes Makoshika State Park Road when it exits Glendive.  All of these turns are marked, so a simpler way to say what I just wrote is “follow signs to Makoshika State Park.”  Enter the park, pay the entrance fee if necessary (only required for out-of-state vehicles as of this writing), and drive the main park road to the signed pull-off parking area for the Switchback Trail on the left.  This pull-off is large enough to accommodate 3 or 4 vehicles.

The hike: As I drove across the length of Montana on my summer 2018 hiking trip, I realized that Montana is almost a microcosm of the American west due to its range of topography: badlands, high plains, foothills, canyons, and “real” rocky mountains.  Located in the eastern part of the state, 11,500-acre Makoshika State Park (accent goes on the second syllable) is the largest state park in Montana.  The park’s name comes from the Lakota word that translates to “bad land,” and it is a fitting name because the park preserves 20% of Montana’s contiguous badlands.
            Like the badlands of nearby North Dakota and South Dakota, Makoshika’s badlands consist of soft clays and shales topped by a harder layer of sandstone.  Badlands do a fantastic job of preserving prehistoric fossils, and fossils from 10 different species of dinosaurs have been found within the park’s boundaries in addition to some petrified wood.  Some of these fossils are on display at a dinosaur museum near I-94, exit 215 that you drove past on your way to the park.
            As is common for state parks in this part of the country, Makoshika State Park has limited amenities: a few picnic shelters, some rustic campsites, and a 15-site developed campground.  Thus, the park’s main attraction is its trail system, which features trails for horses, mountain bikers, and hikers.  The route described here climbs steeply out of a canyon to reach a grassy and pine-covered plateau, which in turn offers excellent views down into the canyon and beyond.  Thus, this hike gives a nice sample of the park’s habitats and a nice sample of the park’s hiking and mountain biking trails.
Switchback Trail trailhead
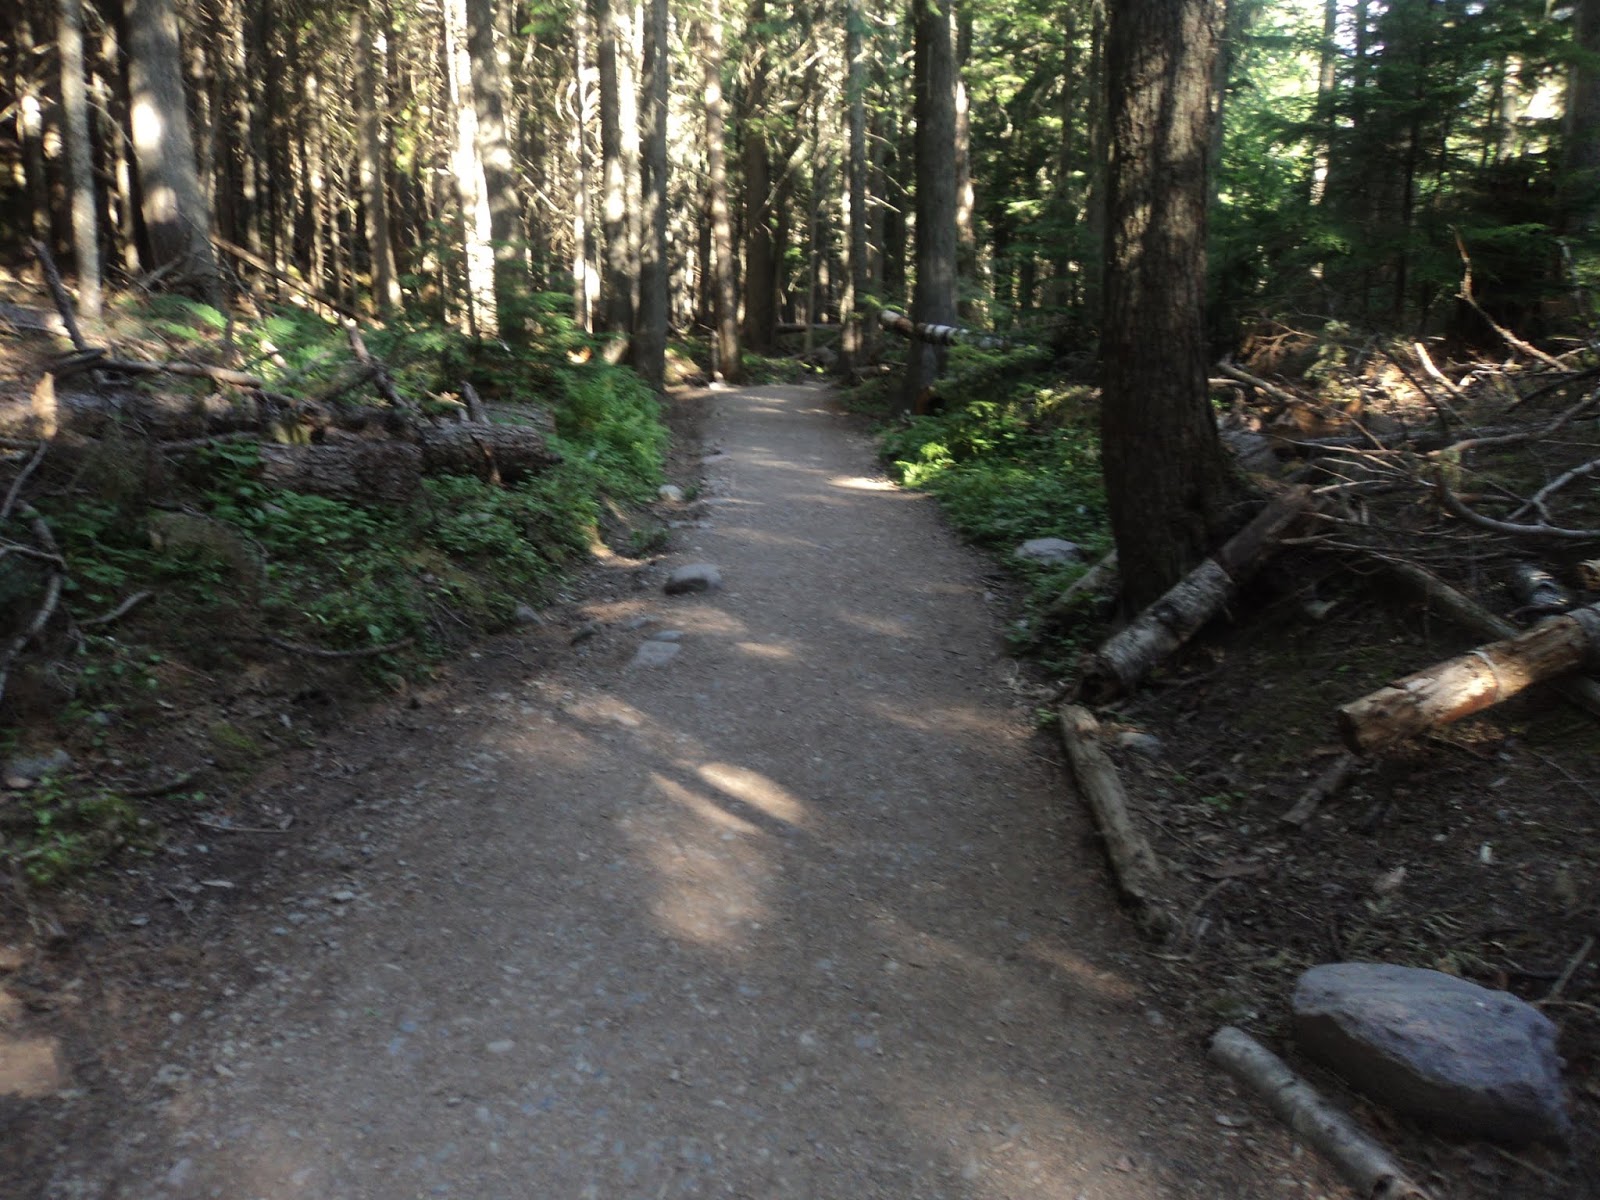
            From its roadside trailhead, the Switchback Trail heads southeast parallel to the park road.  The initial segment of trail was quite narrow and overgrown with prairie grass on my visit, but the path was still distinguishable.  Also, park managers close the Switchback Trail after substantial rains: the water makes the rocks you will soon be climbing very slippery, and it turns the badlands’ dirt into a thick, goopy mud, thus making for unpleasant or dangerous hiking.
Blue wire trail markers buried in ground
            The trail dips to cross normally dry Cains Coulee without the aid of a bridge before beginning the steep climb to the canyon rim.  The trail gains 300 feet of elevation is less than 0.3 miles, and it offers a true rugged, rocky, sunny, hot badlands experience.  The meandering route is marked by an occasional brown carsonite post and some neon blue wires buried in the ground, but you will have to be looking for the wires in order for them to help you stay on the trail.  The badlands rocks feature interesting color bands and rock shapes, and I even passed what looked like a petrified log in this area.
Petrified log
            The trail starts to level out as you climb out of the badlands and onto the grassy plateau, which is dotted with clusters of ponderosa pines.  I also got attacked by swarms of flies once I reached the plateau on the seasonally cool cloudy late-July morning that I hiked here.  Just past 0.5 miles, you reach the Switchback Trail’s upper end at a junction with the McCarty Trail, which goes right and left.  We will eventually go both directions, but for now turn left to head for the park’s amphitheater.
            In only a few hundred feet you reach the park road and the parking area for the amphitheater; vault toilets are also located here.  Head straight ahead and downhill to reach the park’s amphitheater, which occupies a pleasant spot in a grove of pine trees with a nice north-facing badlands view behind the stage.  Exit the left side of the concrete stage (as you approach it from the front) to find the dirt trail that heads a short distance into the badlands to reach Twin Sisters.  Twin Sisters is a pair of balancing boulders each of which is perched atop a narrow shaft of softer rock.  Water and wind continue to erode the softer rock, and if you look around this area you will see some other “sisters” that have already fallen from their perches.
Twin Sisters
            The trail ends at Twin Sisters, so you need to turn around and retrace your steps through the amphitheater to the upper end of the Switchback Trail.  Continue straight on the McCarty Trail to explore the area south of the Switchback Trail.  The trail heads across the grassy plateau before crossing the driveway for the McCarty Cabin, which you will visit in a few minutes.  After dipping through a steep but shallow ravine, you reach a fenced-in pond where the trail curves right to pass along the north and west sides of the pond.
            At 1.4 miles, you reach the signed south end of the McCarty Trail at its intersection with the Ponderosa Trail, which forms a loop.  Turn right to begin a counterclockwise journey around the Ponderosa Trail.  Contrary to its name, the Ponderosa Trail only passes a few ponderosa pine trees, and it spends most of its distance in the plateau’s sunny grassland.
Hiking the Ponderosa Trail
            1.8 miles into the hike, you reach the Cains Coulee Overlook.  Perched at the end of one of the plateau’s peninsulas, the overlook gives a great view northwest down the coulee.  Many badlands rock formations and color bands can be seen, and you may even be able to see your car at the trailhead more than a mile away as the crow flies.  Take a few minutes to enjoy the best view on this hike.
Cains Coulee Overlook
            The trail curves sharply left at the overlook to head back up the south side of the peninsula.  The dryness of the plateau supports some desert plants including yuccas, but a light shower started to fall on me as I hiked this trail.  At 2.2 miles, where a spur trail exits right to another parking area, turn left to finish the Ponderosa Trail’s loop.
McCarty Cabin
            At 2.4 miles, you close the loop.  Rather than retrace your steps to the Switchback Trail, after passing the pond take the faint trail to the left that heads into a ravine.  In only a couple hundred feet, this trail comes out at the McCarty Cabin, a 20-foot by 20-foot log cabin restored in 2014.  Take the narrow trail to the right to climb away from the cabin and rejoin the main McCarty Trail, then turn left to descend the Switchback Trail back to your car and complete the hike.